
Wondering why are there small worms in my water tank? Read our expert DIY guide to identify larvae, sanitize your system, and protect your water.
Why Are There Small Worms in My Water Tank? The Homeowner’s DIY Fix
You head upstairs to check your domestic overhead water storage unit, pop open the hatch, shine a flashlight inside, and freeze. Swimming around in your household water supply are hundreds of tiny, wiggling, worm-like creatures. It is an absolute nightmare scenario that makes your stomach instantly churn.
Look, I get it, scrubbing a tank is exhausting but finding active pests in the very water you use to wash dishes, bathe, or cook is a massive wake-up call. You do not need to panic, and you definitely do not need to drop a massive amount of cash on a commercial pest management team or an expensive plumbing service. This is a highly common residential problem that you can solve completely on your own with a systematic approach.
Here is the real talk about water safety: those little “worms” are actually insect larvae, and their presence means your storage tank has a structural breach or has gone too long without a proper deep clean. In this authority guide, we are going to dive deep into exactly why are there small worms in my water tank, identify what these creatures actually are, and map out the ultimate DIY method to wipe them out completely. At TankClean.site, we want to give you the exact steps needed to protect your household from contamination without burning a hole in your pocket.
Identifying the Culprits: What Are These Worms?
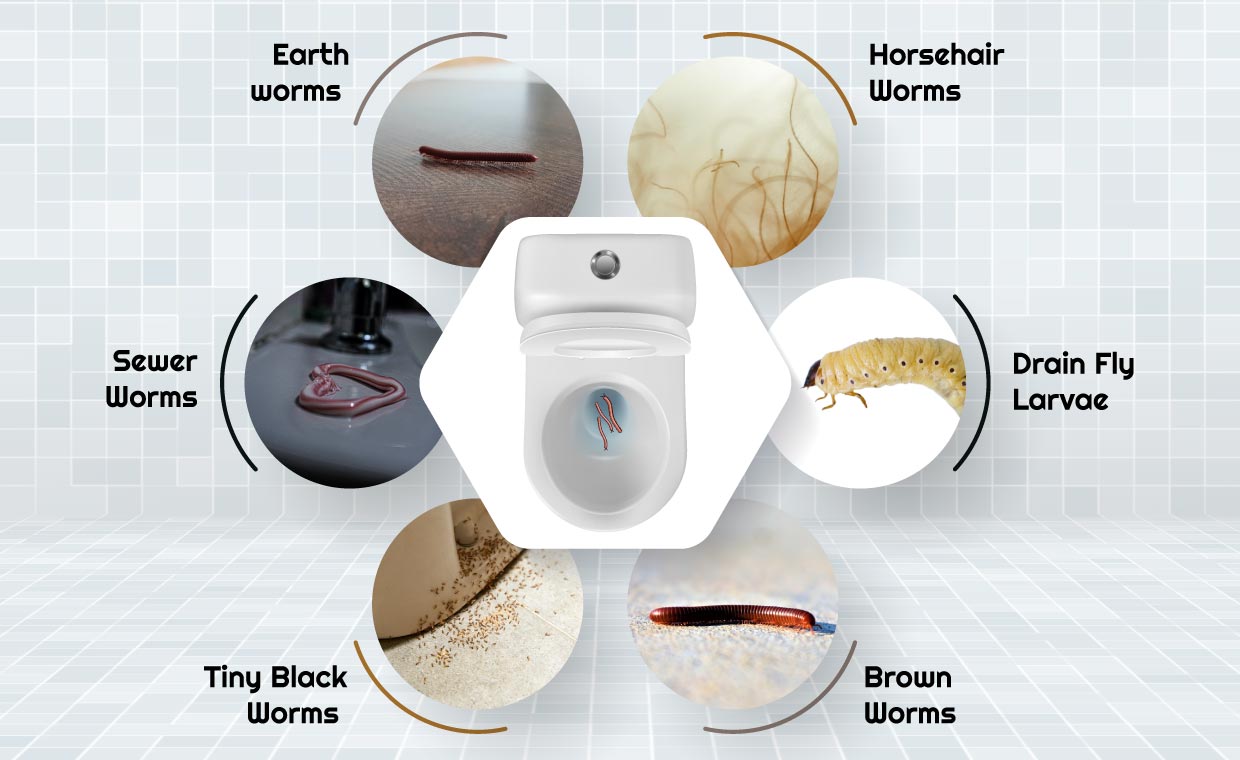
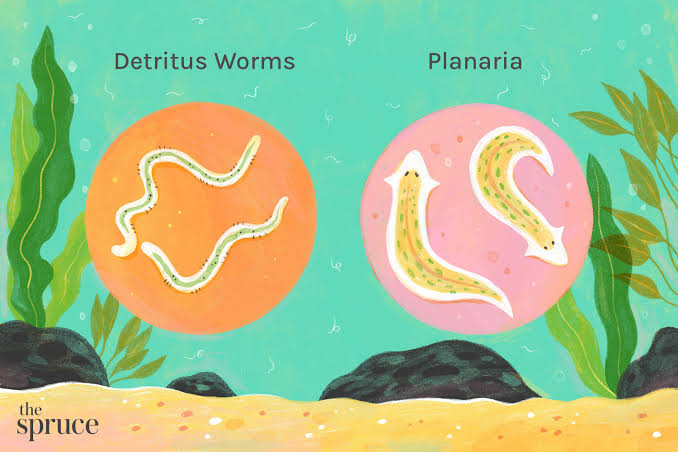
Before we start mixing sanitizers, we need to know what we are up against. True earthworms cannot live or multiply inside a clean, enclosed plastic or concrete water tank. Instead, what you are seeing are almost always the aquatic larval stages of common flying insects.
Mosquito Larvae (Wrigglers)
If the small worms are dark brown or grey, measure less than half an inch long, and violently wiggle back and forth in an “S” shape when disturbed, you are looking at mosquito larvae. Female mosquitoes only need a tiny gap in your tank cover lid to lay hundreds of eggs on the surface of standing water. Within a few days, those eggs hatch into these swimming wrigglers.
Bloodworms (Midge Fly Larvae)
If the worms are bright, distinct red and crawling slowly along the sediment at the bottom of your tank, these are bloodworms. They are the larvae of non-biting midge flies. Their red color comes from hemoglobin, which allows them to thrive in low-oxygen environments filled with thick organic sludge and decaying matter at the base of poorly maintained reservoirs.
Drain Fly Larvae
These are typically pale white or translucent grey with a small dark head. They prefer attaching themselves to the slimy biofilm layer that develops along the internal walls of the tank just above the water level line.
Preparing the Cleanup: The DIY Tool Checklist
You cannot eradicate an insect infestation by just pouring a chemical into the water and calling it a day. You have to physically remove the organic matter that serves as their food source. Here is the essential gear you need to gather before beginning the process.
| Tool Category | Equipment Needed | Specific DIY Purpose |
| Safety Equipment | Waterproof rubber boots, long heavy-duty gloves, protective goggles, and a basic particulate dust mask. | Protects your skin, eyes, and lungs from airborne pathogen mist and splashes of concentrated chemicales. |
| Debris Removal | Submersible utility water pump, a fine-mesh pool skimmer or handheld sieve, and a large heavy plastic bucket. | Skims swimming larvae off the top, evacuates stagnant water, and pumps out thick mud or silt layers. |
| Mechanical Cleaners | High-pressure washer (or a standard garden hose with a jet nozzle) and medium-stiff nylon scrubbing brushes. | Blasts away sticky biological slime, algae patches, and insect eggs adhering tightly to internal tank walls. |
| Sanitizing Agents | Food-grade liquid sodium hypochlorite (unscented household bleach). | Completely sterilizes the entire interior system, destroying microscopic eggs and residual bacteria. |
Step-by-Step Guide to Evicting Worms and Sterilizing Your Tank
Follow this exact sequence to ensure that every single insect, larva, and egg is destroyed, leaving your family with perfectly clean, hygienic household water.
1.Isolate the House Plumbing and Drain the Bulk Water:Prerequisite Step.
Turn off the incoming main water supply line that fills the reservoir. Go to your home’s main distribution valve and shut it off completely. This step is absolutely critical because you do not want any of the live larvae or highly concentrated cleaning chemicals traveling down into your indoor kitchen or bathroom taps. Open the tank’s main exterior drainage valve to empty the water.
2.Skim Floating Pests and Pump Out Base Sludge:Duration: 20-30 mins.
As the water level drains down to the final few inches, use your fine-mesh skimmer to catch as many swimming larvae as possible. Next, utilize a small submersible utility pump or a sturdy plastic bucket to remove the thick layer of dark silt and organic mud sitting at the bottom. This mud is the primary nutrient source where midge fly larvae feed and live.
3.Scrub the Interior Walls and Blast the Biofilm:Physical Cleaning Phase.
Mix a basic cleaning solution of warm water and a small amount of liquid dish soap or vinegar. Get inside the tank (if it is a large concrete cistern) or use a long-handled brush to vigorously scrub down the ceiling, walls, corners, and floor. Blast the entire internal surface area with a pressure washer to strip away the clear, slippery biofilm layer where insects glue their microscopic eggs.
4.Execute a Chlorine Chemical Shock Treatment:Duration: 2 hours soak.
Refill the tank roughly 10% full with clean water. Add 1 gallon of regular, unscented household liquid bleach for every 500 gallons of total tank capacity to create a powerful disinfecting shock solution. Use a clean sprayer or a clean brush to coat this solution across all interior walls and the ceiling. Let it sit completely undisturbed for two full hours to guarantee the destruction of any remaining biological matter.
5.Flush the Residual Disinfectant Out Completely:Flushing Phase.
Drain the heavy chlorine shock solution out through your external wastewater line. Use a garden hose to rinse down the internal walls one final time with fresh water, and use a wet-vacuum or clean sponge to remove the very last puddle of liquid from the bottom so your household tap water does not retain a chemical odor.
6.Refill, Inspect, and Turn Your System Online:Final Verification.
Close the tank drainage valves tightly and open your main municipal or well line to refill the unit with fresh water. Check the surface to make sure it is completely crystal clear. Once satisfied, open an outdoor garden hose tap for a minute to clear the lines, and then safely procced to open the main distribution valve back into your home.
Permanent Prevention: Keeping the Pests Out for Good
Now that your water is pristine again, let’s talk about how to make sure you never have to ask why are there small worms in my water tank ever again. Insects cannot spontaneously generate inside your water supply; their must be a physical entry point.
The number one cause of insect infestations is a warped, broken, or completely missing tank cover lid. Inspect your lid carefully. If it is cracked or doesn’t seal tightly against the rim, replace it immediately. For plastic overhead tanks that expand and contract under intense sunlight, consider using a heavy-duty locking lid system or wrapping a secure tension strap around the lid perimeter.
Secondly, pay close attention to your tank’s air vent and overflow pipes. These pipes are open invitations for flying pests looking for water to lay eggs. Cut a small piece of fine stainless steel or nylon mosquito mesh and secure it tightly over the openings of all vent and overflow pipes using a durable metal hose clamp or heavy-duty zip ties. This allows the tank to breathe naturally while creating an impenetrable physical barrier against bugs.
Trust TankClean.site for All Your Water Hygiene Needs
Protecting your home’s water supply doesn’t mean you need to rely on expensive corporate services. By understanding the biological causes behind pest contamination and applying the right physical cleaning methods, you can secure fresh, healthy water for your family all year round. For more expert home maintenance blueprints, step-by-step DIY cleaning guides, and water filtration strategies, make sure to explore the vast array of specialized resources available on TankClean.site—your ultimate online destination for proactive residential water hygiene.