
Keep your family safe with our complete checklist for annual water tank maintenance inspection. Step-by-step DIY cleaning tips for homeowners.
Checklist for Annual Water Tank Maintenance Inspection: The Ultimate DIY Guide
Let’s be completely honest for a second. We spend thousands of dollars on water purifiers, organic groceries, and fancy gym memberships to keep our families healthy. But when was the last time you actually climbed up or looked down into your primary water storage tank?
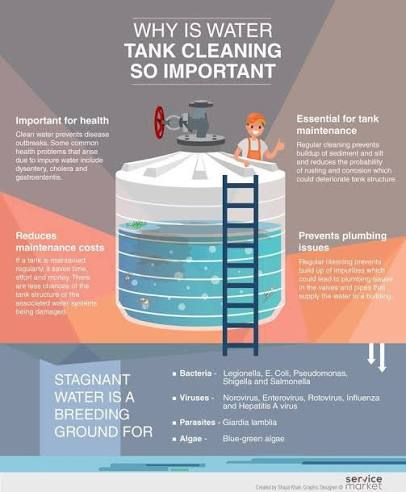
If you are like most homeowners, it is probably a case of “out of sight, out of mind.” Over the months, algae, sediment, rust, and sometimes even dead insects can accumulate at the bottom of your tank. Every time you brush your teeth, take a shower, or wash your dishes, you are using that water.
Here is the real talk about water safety: waiting for your water to smell funny or turn brown before you take action is a major mistake. Routine inspection is the only way to catch contamination early. Cleaning it yourself might seem like a daunting, messy chore, but with the right game plan, you can do it safely without throwing money at expensive professional services.
At TankClean.site, we believe that every homeowner should have the tools and knowledge to manage their own home hygiene. That is why we compiled this definitive checklist for annual water tank maintenance inspection to walk you through the process seamlessly.
The Essential Pre-Inspection Tool Checklist
Before you even think about turning off your main water valve, you need to gather your gear. There is nothing worse than being half-covered in muck inside a tank only to realize you forgot your scrubbing brush downstairs.
Here is a quick breakdown of what you need to prepare:
| Tool Category | Essential Items | Purpose |
| Safety Gear | Rubber gloves, protective goggles, N95 face mask, boots | Protects you from stagnant water bacteria and harsh chlorine fumes. |
| Cleaning Implements | Stiff-bristled brush, clean sponge, high-pressure washer (optional) | To scrub off stubborn algae bio-film and accumulated slime. |
| Water Removal | Submersible sludge pump or a heavy-duty bucket and mug | For draining out the residual wastewater left at the very bottom. |
| Disinfection | Unscented household bleach (5% to 6% sodium hypochlorite) | To thoroughly sanitize the tank surfaces after scrubbing. |
| Testing & Lighting | Waterproof flashlight, chlorine test strips | To inspect dark corners and check final water safety levels. |
Choosing Your Sanitizer: Bleach vs. Vinegar
A common question we get here at TankClean.site is whether homeowners can use natural alternatives like vinegar instead of industrial chemicales. While vinegar is fantastic for descaling a coffee machine, a water tank requires true disinfection.
Let’s look at how they stack up side-by-side:
| Feature | Household Bleach (Chlorine) | White Vinegar (Acetic Acid) |
| Pathogen Elimination | Kills 99.9% of bacteria, viruses, and algae spores. | Weak against tougher water-borne pathogens and viral strains. |
| Contact Time Required | Fast-acting; completely sanitizes in 30–60 minutes. | Requires hours to break down even basic bacterial setups. |
| Residual Odor | Strong chlorine smell that requires thorough flushing. | Mild sour smell that rinses away quickly with water. |
| Expert Recommendation | Highly Recommended for annual maintenance. | Only suitable for minor, routine spot cleaning. |
Look, I get it, working with bleach isn’t the most pleasant experience, but when it comes to the water your family relies on, you want a definitive kill-rate on harmful pathogens.
Step-by-Step Guide to Inspecting and Cleaning Your Water Tank
Now that you have your tools ready and understand your sanitizing options, let’s dive into the structural checklist for annual water tank maintenance inspection. Follow these steps carefully to ensure a smooth, accident-free DIY cleaning session.
Step 1: Pre-Inspection and Isolation
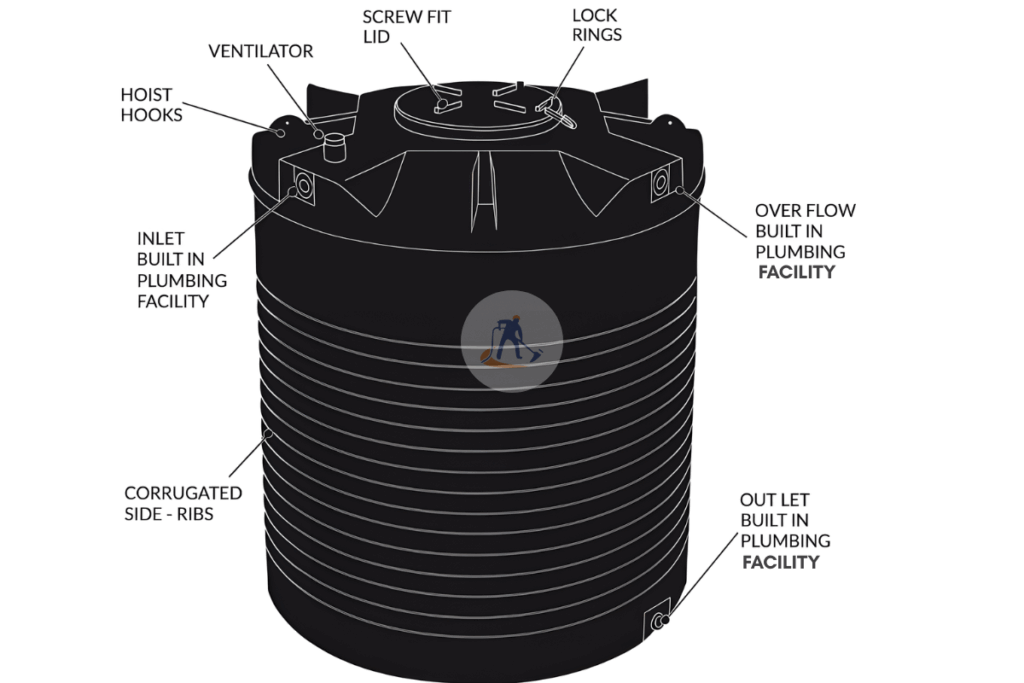
Before draining a single drop, inspect the exterior of your tank. Look for structural cracks, loose pipe connections, or a damaged manhole cover. If your lid isn’t completely airtight, birds, rats, or rainwater can easily slip inside.
Once the exterior check is complete, isolate the tank. Turn off the main water supply inlet valve and shut down any electric water pumps or heaters connected to the system to prevent them from running dry and burning out.
Step 2: Draining the System
Open your tank’s drain valve or scour valve to empty out the bulk of the water. You can direct this water to your garden or lawn so it doesn’t go to waste. Stop draining when the water level reaches about 6 to 12 inches from the bottom. This small remaining volume will help you mix and scoop out the heavy sediment sitting on the floor.
Step 3: Mechanical Scrubbing
Put on your safety mask, goggles, and rubber gloves. Use your stiff-bristled brush to thoroughly scrub the internal walls, corners, and floor of the tank. Focus heavily on joints and structural ribs where algae loves to hide.
If you are dealing with a massive underground concrete tank, ensure there is another person standing outside to assist you. Never enter a completely sealed space without proper ventilation or a spotter nearby—safety always comes first.
Step 4: Sludge Evacuation
Once all the dirt and bio-film are scrubbed off the walls, the remaining water will look like a thick, muddy soup. Use a submersible sludge pump or manually scoop this grime out using your bucket and mug. Get the tank floor as clean and dry as possible before moving on to the next phase.
Step 5: Chemical Disinfection
Now it’s time to sanitize. Prepare a disinfecting solution by mixing household bleach with water. A good standard ratio is 50 ppm (parts per million) of chlorine. For a typical 1,000-liter tank, this translates to roughly 150 to 200 ml of standard liquid household bleach.
Spray or brush this solution thoroughly onto all internal surfaces. Let it sit for at least 30 minutes to ensure it completely eliminates any invisible microbial threats.
Step 6: Final Flushing and Refilling
After the contact time has passed, rinse the walls down completely with clean water. Drain this rinse water out through your waste lines—do not let it enter your home’s regular tap lines, as the high chlorine concentration can ruin your plumbing fixtures or irritate your skin.
Once the flush water runs completely crystal clear, close the drain valves and reopen the main inlet valve to fill the tank with fresh water. Turn your pumps and water heaters back on. Your annual inspection and cleaning cycle is officially complete!
Common Mistakes Homeowners Should Avoid
While the process is straightforward, many DIYers make small mistakes that can compromise their hard work. First, never use household laundry detergents or scented soaps inside your tank. Their chemical residues stick to porous concrete or plastic surfaces and are incredibly difficult to flush out completely, leaving your water tasting like artificial lavender for weeks.
Second, do not forget to flush the actual household tap lines. After the tank is refilled, turn on all the faucets in your home for 2 to 3 minutes to clear out any air pockets or loose debris that might have entered the pipes during the draining process.
Keep Your Water Pure Year-Round
Managing your home’s water quality doesn’t have to be a stressful guessing game. By keeping a copy of this checklist for annual water tank maintenance inspection handy, you can protect your household from water-borne illnesses while preserving the lifespan of your plumbing infrastructure.
Want to stay on top of your home health goals without the stress? Download our free, printable step-by-step tank inspection sheet directly from TankClean.site. You can also sign up for our seasonal email reminders so you always know exactly when it’s time to check your system. Explore our extensive library of specialized guides today to master your home water hygiene like a true professional!