Step by Step Guide to Underground Water Tank Cleaning (DIY Guide)

Clean your underground reservoir safely! Follow this comprehensive step by step guide to underground water tank cleaning without paying a premium.
Step by Step Guide to Underground Water Tank Cleaning: Maintain Pure Water at Home
Let’s be completely honest: out of all the home maintenance chores, checking on your underground water storage cistern is probably at the bottom of your list. Because it is buried beneath concrete out of sight, it is incredibly easy to adopt an “out of mind” attitude. But while you ignore it, dirt, wind-blown silt, rust particles from main supply lines, and organic biofilms are slowly accumulating at the bottom, quietly compromising your household health.
Look, I get it, scrubbing a tank is exhausting but waiting until your tap water smells earthy or breaks your expensive filtration system is a much worse scenario. Here is the real talk about water safety: underground tanks face unique contamination risks compared to overhead units. Runoff water, tiny insects, and structural microscopic cracks can introduce debris far more quickly.
You do not need to drop half your monthly maintenance budget on a commercial cleaning crew. Armed with a weekend, a few basic machines, and this definitive, expert-led framework from TankClean.site, you can restore your reservoir to hospital-grade sanitation safely and efficiently.
The Unique Realities of Underground Water Storage
Before we pick up a brush, we need to understand what we are dealing with. Underground storage systems, whether made of poured concrete or heavy-duty polyethylene, act as the primary collection hub for your property.
Why Underground Silt Accumulates
Every time your municipal supply lines pump fresh water into your property, they bring along fine sand and rust fragments. Because underground tanks are typically much larger than overhead variants, the water moves slowly, allowing these suspended solids to fall out of suspension and form a thick layer of bottom muck.
The Oxygen Deprivation Factor
Deep underground chambers suffer from minimal air circulation. When organic debris like leaves or small insects accidentally drop inside through an improperly sealed hatch cover, they break down in a low-oxygen environment. This anaerobic decomposition is what causes that sudden, foul sulfur odor whenever you turn on your shower taps.
Preparation and Tool Verification
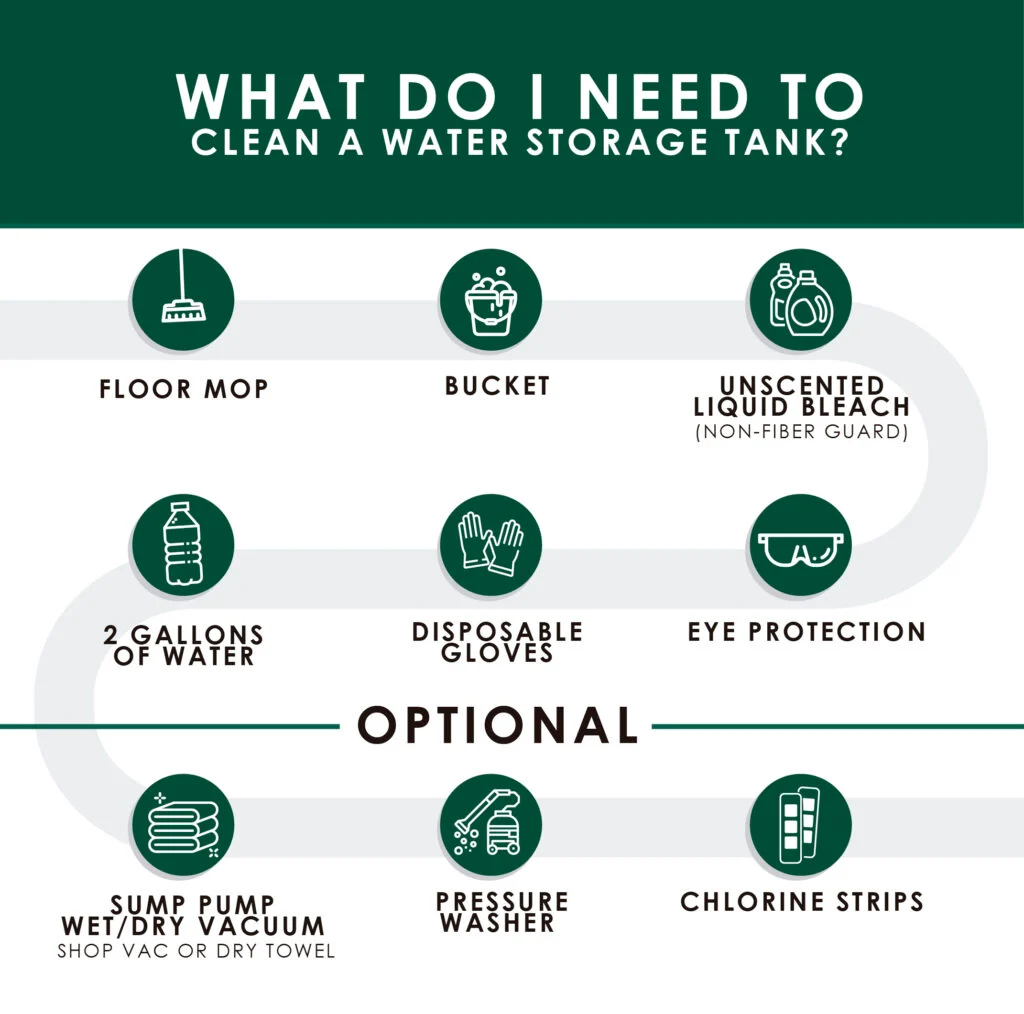
Working in a semi-confined space requires preparation. Never attempt to dive into this project with just a basic household bucket and a handheld mop. You will waste your day and leave 50% of the pathogens untouched.
Equipment and Chemical Check
| Equipment Category | Required DIY Selection | Why It Matters |
| Water Evacuation | Submersible Dirty-Water Sludge Pump | Empties the high-volume tank quickly without burning out on thick sediment mud. |
| Sanitizing Base | Unscented Liquid Sodium Hypochlorite (Bleach) | Eradicates deep-seated fungal spores, algae, and persistent bacterial cultures. |
| Residue Extraction | Wet/Dry Shop Vacuum | Pulls up the final persistent puddles of contaminated mud that pumps can’t grab. |
| Ventilation Setup | Portable Utility Fan / Exhaust Hose | Forces fresh air down into the underground chamber to clear toxic gas and chemical fumes. |
Step by Step Guide to Underground Water Tank Cleaning
Now that your tools are sorted, let’s step through the comprehensive procedure. Approach each phase systematically to ensure you do not miss any hidden structural corners.
Step 1: Total Isolation and Drainage
First things first: shut down the power to your main residential pressure booster pump and any water filtration units. Close the gate valves that feed water from the underground tank up to your overhead tanks or domestic plumbing network. Drop your submersible dirty-water pump down into the deepest point of the reservoir floor, route your discharge hose out to a municipal storm drain, and let it pump out the bulk volume of water. Leave roughly two inches of water at the bottom to assist with your initial floor agitation.
Step 2: Atmospheric Ventilation and Safety Setup
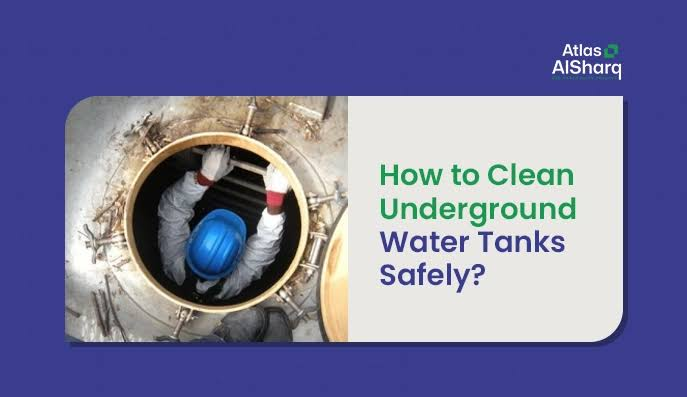
Because underground reservoirs can trap harmful gasses or heavy chemicales, safety is paramount. Open the access hatch completely and place a high-powered utility fan directly over the opening, blowing fresh outdoor air down into the tank for at least 45 minutes before anyone steps inside.
If you must physically climb inside the chamber via a secure aluminum ladder, always have a spotter standing outside the hatch watching you at all times. Their presence ensures you have immediate assistance if you feel lightheaded from cleaning fumes.
Step 3: High-Pressure Mechanical Scrubbing
Mix a specialized scrubbing solution using 1 cup of unscented chlorine bleach per 5 gallons of clean water. Using a long telescopic pole brush with stiff nylon bristles, work across the ceiling and down the walls using circular patterns. If your tank is concrete, pay close attention to any microscopic hairline cracks where dark mold spores love to anchor themselves. Let the dislodged grime run down onto the base floor.
Step 4: Evacuating the Concentrated Bottom Sludge
With the walls stripped clean, your floor will now look like a muddy swamp. Turn your dirty-water pump back on to remove the bulk slurry. Once the fluid level gets too shallow for the pump to pull, switch to your wet/dry shop vacuum. Use the wide floor squeegee attachment to systematically draw up the thick sediment paste. Move methodically until the raw concrete or plastic floor is fully exposed and bone dry.
Step 5: Disinfection Spray and Contact Time
Now we need to completely sanitize the environment. Fill a standard garden compression sprayer with a concentrated chlorine solution (roughly 1 part bleach to 10 parts water). Liberally spray down every square inch of the internal walls, structural support pillars, and floor. Do not rinse this out immediately. Leave the solution on the surfaces for a minimum of 2 to 3 hours to break down bacterial cell structures on a molecular level.
Step 6: The Final Structural Rinse and Re-Commissioning
After the sterilization window has elapsed, use a high-pressure garden hose to thoroughly wash down the ceiling and walls from the top down. Use your shop vacuum to suck up this final chemical rinse water so none of it remains behind to taint your water quality.
Inspect the tank one final time with a strong flashlight. Once it looks pristine, procced to climb out, remove your tools, and secure the heavy access lid tightly to ensure external dirt cannot compromise your hard work. Turn on your primary supply lines to fill the reservoir with fresh water, open your household distribution lines, and enjoy clean water!

Common Pitfalls Homeowners Face
Even with a detailed layout, a few common oversights can ruin a great cleaning session. Watch out for these three major errors:
- Using Scented or Softener Bleach: Always read the labels on your chemical bottles. Never use laundry bleaches with perfumes or splashless thickeners. These leave behind petroleum-based residues that are incredibly difficult to rinse out, creating a permanent chemical taste in your drinking supply.
- Neglecting the Hatch Seal: You can execute a perfect clean, but if your underground hatch gasket is degraded or missing, ants, beetles, and surface mud runoff will enter right back inside during the next heavy rainfall. Check your seals every single time.
- Leaving Residual Water in Corners: If you leave patches of dirty, chlorinated rinse water sitting in the low corners of your tank floor, it will degrade your fresh water incoming supply. Spend those extra ten minutes with a shop vacuum or clean dry towels to get the basin completely dry.
Elevate Your Home Water Security
Taking ownership of your domestic infrastructure by executing this step by step guide to underground water tank cleaning is an empowering, money-saving skill. It gives you total clarity regarding the purity of the water feeding your taps, showers, and cooking pots, ensuring your family stays completely safe from waterborne pathogens.
For more high-authority DIY blueprints, specialized equipment reviews, and household maintenance advice, make TankClean.site your primary online educational home. We are committed to translating complex domestic engineering projects into straightforward, scannable guides that anyone can master.
Ready to clean your home storage system? Click the button below to join our seasonal maintenance newsletter community! You will receive a fully downloadable, printable Underground Tank Cleaning Safety Checklist & Step-by-Step Blueprint to keep right in your garage, alongside automated email reminders helping you track your system inspections before the peak summer heat hits your region.