How to Clean a Small Drinking Water Tank Yourself (Easy DIY Guide)

Learn how to clean a small drinking water tank yourself safely. Follow this expert DIY guide to sanitize your drinking water without pricey services.
How to Clean a Small Drinking Water Tank Yourself: The Step-by-Step Sanitation Guide
Let’s be entirely honest for a moment: we rarely think about where our daily glass of water comes from until it starts tasting a little off or showing a strange yellowish tint. If your household relies on a small storage unit for cooking and drinking, that tank needs regular attention. Over months of use, a fine layer of dust, mineral scale, and biofilms can collect on the inside surfaces.
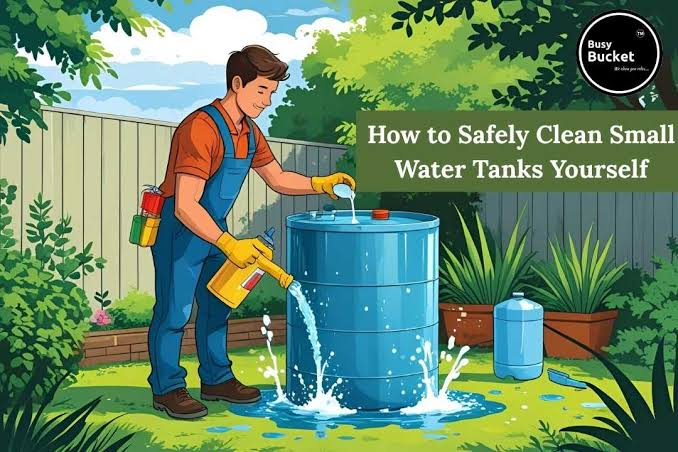
Look, I get it, scrubbing a tank is exhausting but ignoring the very container that holds your family’s drinking supply is a recipe for health issues. Here is the real talk about water safety: you do not need to spend a small fortune hiring commercial cleaning crews for a compact system. You can easily manage this job over a weekend. Today, we are going to break down exactly how to clean a small drinking water tank yourself using basic household items and a bit of elbow grease.
At TankClean.site, we are all about empowering homeowners to take control of their domestic hygiene. Let’s walk through the exact gear, chemical choices, and step-by-step methods to get your drinking water back to pure, crisp perfection
.
The Unique Challenges of Drinking Water Storage
Cleaning a general-use utility tank (like one used purely for flushing toilets or watering gardens) is relatively forgiving. However, when you tackle a small unit dedicated strictly to drinking water, the stakes are significantly higher.
Why Compact Tanks Contaminate Faster
Small drinking water tanks often experience stagnant zones if water isn’t cycled through quickly enough. Because they have less total volume, any small amount of organic matter entering through a loose lid can rapidly alter the chemical balance of the entire supply. Bacteria can multiply much faster in a stagnant 200-liter tank than in a massive commercial reservoir.
The Biofilm Hazard
Have you ever run your finger along the inside wall of a water container and felt a slippery, slimy layer? That is a biofilm—a structured community of microorganisms that adheres to surfaces. Standard rinsing won’t budge it; it requires physical agitation and precise chemicales to break down the microscopic matrix.
Selecting the Right Sanitizing Agent
When it comes to drinking water, you cannot just grab any random bottle of industrial cleaner from under the sink. Every chemical you introduce needs to be thoroughly rinsed out or carefully dosed so it remains safe for human consumption. Let’s look at the two most reliable DIY options.
Disinfection Comparison: Bleach vs. Food-Grade Hydrogen Peroxide
| Selection Factor | Unscented Household Bleach (Sodium Hypochlorite) | Food-Grade Hydrogen Peroxide (3% to 7%) |
| Primary Advantage | Extremely powerful; destroys viruses and bacteria instantly. | Breaks down completely into water and oxygen; zero chemical taste. |
| Safety Precautions | Requires highly precise dilution; fumes can be overwhelming in closed spaces. | Safer to handle skin-wise, but requires a longer contact time to disinfect. |
| Rinse Requirement | Heavy rinsing needed until the chlorine smell disappears. | Minimal rinsing required; any trace amounts decompose naturally. |
| Availability | High (Available in every local supermarket). | Medium (Often requires a trip to a pharmacy or online order). |
Essential Tool Checklist for Compact Tanks
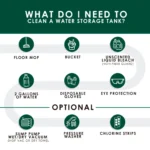
Before you get your hands wet, pull your gear together. Since you are working on a smaller scale, you do not need large submersible industrial pumps. Instead, look for items that allow for precision work in tight configurations.
- Dedicated Scrubbing Pad or Medium-Bristle Hand Brush: Ensure this is brand new and used exclusively for your drinking water system to avoid introducing outside bacteria.
- A Manual Siphon Hose or Clean Hand Jug: For scooping out the last remaining inches of water from the bottom basin.
- Pure Unscented Bleach or Hydrogen Peroxide: Your chosen sanitizing chemical.
- Clean Microfiber Cloths: For wiping down delicate inner lips and structural corners.
- A Reliable Flashlight: To inspect dark corners for hidden mold growth.
- Measuring Cup and Syringe: For measuring your disinfection doses accurately.
Step-by-Step Guide: How to Clean a Small Drinking Water Tank Yourself
Now that your workspace is organized and your tools are ready, let’s step through the cleaning protocol. Follow these steps sequentially to guarantee a sterile environment.
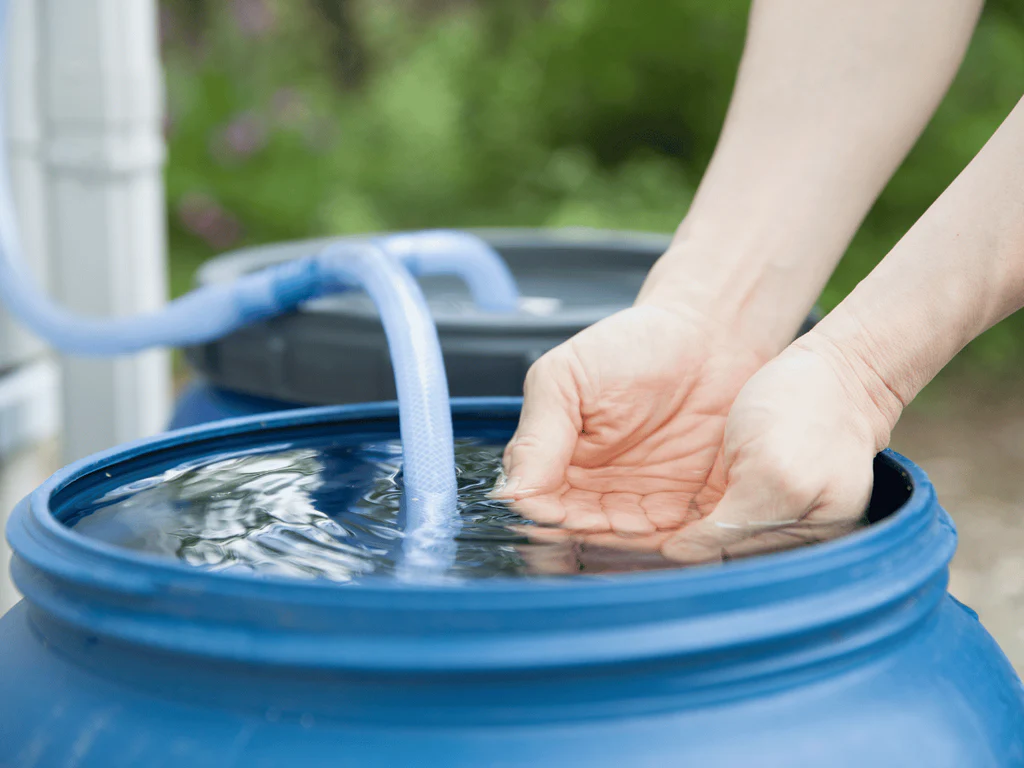
Step 1: System Isolation and Power Down
Safety first. Turn off the electricity to any filtration units or inline water pumps connected to the storage system. Close the main outlet valve that routes water from this small tank down into your kitchen faucets or drinking taps. This ensures that any loosened grime or high-concentration chemicals stay contained within the tank during the scrubbing process.
Step 2: Emptying the Tank to the Baseline
Drain the clean water out through the bottom drain valve if your tank features one. If it doesn’t, use your clean siphon hose or a manual hand jug to pull the water level down until only an inch or two remains at the absolute base. You want just enough water left to moisten your scrubbing brush as you work.
Step 3: Physical Scrubbing of All Internal Surfaces
Mix a small cleaning solution using hot water and a tiny splash of your chosen sanitizing agent. Dip your dedicated scrubbing brush into the mix and start working on the walls from the top down. Use firm, circular motions to break up the slippery biofilm layers.
Big Brother Advice: Pay special attention to the seams, corners, and around the inlet pipes. Algae and mold love to hide in their where water movement is lowest.
Step 4: Evacuating the Loosened Sludge
Once the walls are clean, you will notice the water at the bottom has become a dark, unappealing soup of sediment and scrubbed particles. Use a clean sponge or a hand siphon to completely suck this dirty residue out of the tank. Do not let it sit, or the particles will settle back into the porous plastic or concrete material. Wipe the floor until it is bone dry.
Step 5: Chemical Sanitization
Now it is time to sterilize the system completely. If you are using standard household bleach, the ratio for a drinking water system is roughly 1 tablespoon of bleach for every 20 liters of water capacity. Fill the tank halfway with fresh water, pour in your carefully measured bleach solution, and then fill the tank to the top.
Let this mixture stand inside the tank for at least 2 to 3 hours. This extended contact time is what completely eradicates any remaining microscopic spores and bacteria.
Step 6: The Ultimate Final Flush
After the sanitizing time has passed, open the drain valve and empty the treated water completely. Refill the tank with fresh, clean water and let it sit for ten minutes, then drain it a second time. This final flush eliminates any lingering chlorine odor or taste. Once the water smells completely neutral, you can procced to fill the tank up for normal household use, reopen your domestic supply valves, and restart your filtration units.
Crucial Tips to Prevent Post-Cleaning Contamination
Your tank is now spotless, but keeping it that way requires a bit of ongoing vigilance. A few proactive habits will save you from having to repeat this deep clean too soon:
- Secure the Access Lid: A surprising number of insects, lizards, and dust particles get into small drinking tanks simply because the top lid is warped, cracked, or left loose. Ensure your lid screws down tightly or use a rubber gasket to create an airtight seal.
- Keep the Exterior Shaded: Sunlight hitting a translucent plastic water tank acts like an incubator for green algae. If your tank is near a window or outdoors, wrap it in a dark insulation cover or paint the exterior black to block out light.
- Test Your Water Bi-Anually: Even clean tanks can receive contaminated water from municipal lines. Use simple home testing strips to verify that your water remains free of heavy nitrates and harmful bacteria cultures.
Master Your Home Water Quality
Taking the time to discover how to clean a small drinking water tank yourself is one of the most rewarding DIY skills you can cultivate. It gives you absolute confidence in the quality of the water your family consumes every day, while keeping unnecessary service costs entirely out of the equation.
For more highly detailed water hygiene blueprints, tool buying guides, and domestic maintenance walkthroughs, think of TankClean.site as your ultimate online companion. We focus on breaking down complex home upkeep routines into stress-free, step-by-step processes.
Ready to maximize your home’s health? Sign up for our exclusive community newsletter today! You will receive a fully downloadable, interactive DIY Drinking Water Safety Guide & Cleaning Schedule to keep your home running smoothly all year round, along with timely seasonal tips tailored specifically to your residential needs.